By Alanna Iacovetti
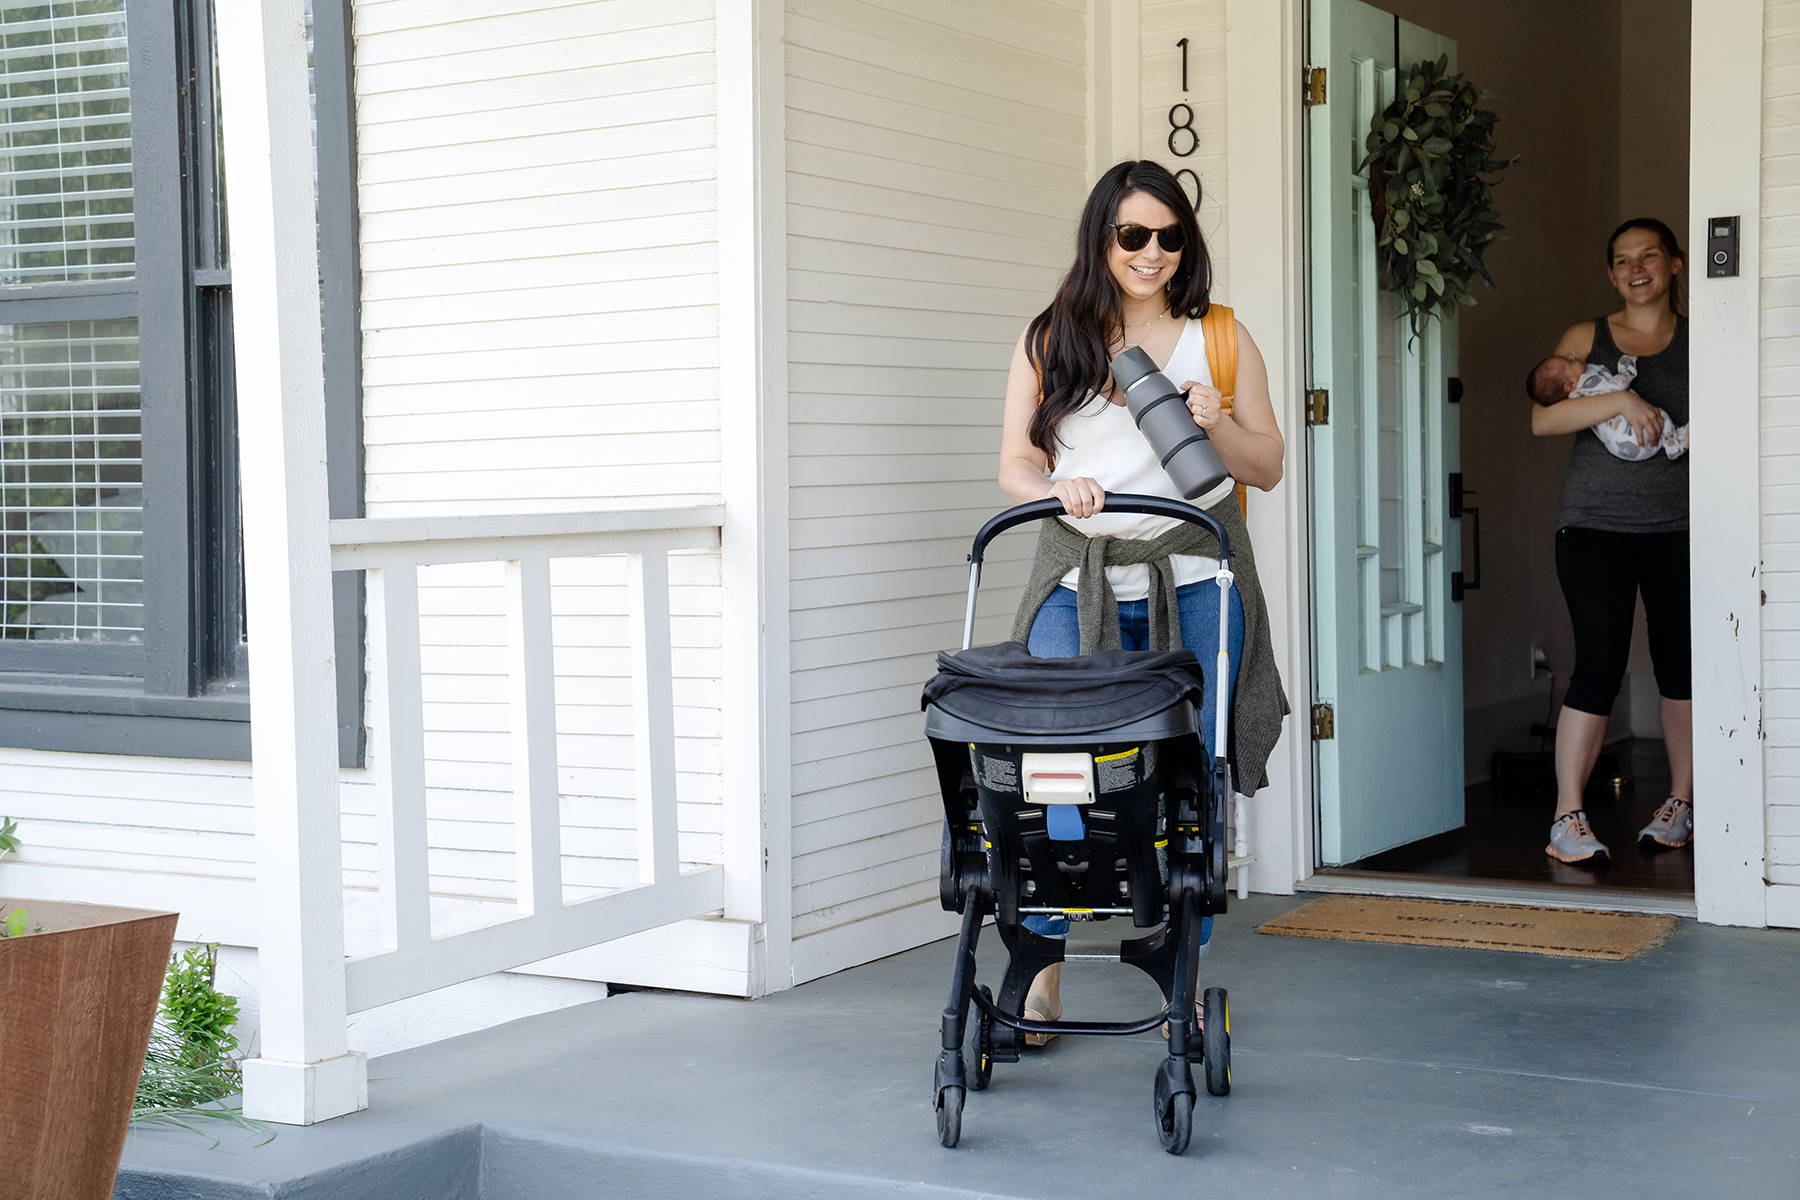
Photo by Mariel and Joey Lifestyle Photography
If you’ve ever traveled with breastmilk and breastfeeding gear, you know how stressful it can be. There’s the anxiety around keeping your milk safe, pumping on a plane, getting through TSA, and all of the other things that you may run into. I’ve been there too many times!
TL;DR for the On-the-Go Mom
✈️ Breastmilk, formula, pumps, and accessories are allowed on planes in reasonable amounts — not limited by the 3-ounce liquid rule. Know your rights!
🧊 Use a chiller or cooler with ice packs to keep milk cold. Pro tip: Freeze some milk inside the chiller for extra cooling.
🧼 Bring sanitizing wipes or a portable washbasin to clean pump parts on the go — airports and planes don’t have ideal washing setups, but you can manage!
⏰ Set reminders to pump and prep everything before pumping on the plane (in-seat or bathroom) to keep it smooth.
🎒 Pack extras like freezer bags with ice for extra milk storage and expect to explain your gear at TSA — they’re generally familiar but vary by airline.
💪 Be prepared and confident — you’ve got this traveling and pumping like a pro!
First things first — It’s really important to know our rights as breastfeeding parents traveling with or without our babies. Breastmilk and formula are not subject to the 3 ounce liquid rule while traveling by plane, and it’s your right to bring them in reasonable quantities on your flight. You are also allowed to bring your pump, extra sets of pump parts, your chiller or cooler, and any other necessary gear with you on the plane to store your milk and pump.
Now, how do we avoid all the stress of traveling with milk? What essentials do you need?
What’s in my carry-on?
A breast pump
Breast pumps are considered medical devices, and are allowed to be checked in or carried on. As I’m sure you’ve heard from so many moms, it’s ALWAYS a good idea to bring it in your carry on. Bags get lost, flights get delayed, and things can be unpredictable. Having access to your pump at all times will help to ease your mind. If you have an exceptionally long flight, extra batteries or a hand-pump can come in handy too!
The milk storage option that works for you
Although storing milk for long flights is never 100% simple, it’s important to find a way that works best for convenience, reliability, and most importantly, less stress.
Flying with your chiller
My process is pretty straightforward — before I leave the house, I’ll fill my outer chamber with ice and a splash of water and pump into it as needed. When I get to security screening, I always let the officer know that I’m traveling with breastmilk. We’ve all heard the horror stories of moms with milk going through TSA, so it’s always a good idea to stress that you have liquid gold in there!

I’m often told to dump the ice and water while they test my milk as usual, and then I refill it anywhere that I can find ice — a bar, Starbucks, water fountain or from the flight attendant. Then I am good to go for another 20 hours. Check out this amazing IG reel that shows how the agent will likely test your milk using a vapor strip!
A cool hack for moms with one chiller who are transporting more than 24 ounces — freeze some breastmilk in the inner chamber and use that as your coolant chamber! You’ll be able to transport about 32 ounces if you fill the inner chamber with 8oz of breastmilk to freeze.
Flying with a cooler
If you’ll be using a cooler during your travels, make sure that your ice packs are frozen through and through — you don’t want to get to TSA screening and have to throw them out because they’re not frozen solid. Prepare your bottles of milk that you’ll be transporting before you leave, and make sure that you leave some space in the cooler for the milk that you’ll be pumping in the airport/on your flight.
If it’s a long flight or you have delays, you can also get ice from the flight attendant or a restaurant before you leave. Try not to open the cooler often as that will minimize the amount of chilling time that you’ll have.
A washbasin and/or sanitizing wipes
If you have a long flight and you’ll be pumping multiple times, you’ll have to clean your parts in between sessions. It can seem tricky to adhere to the “sanitizing rules'' when you’re traveling or otherwise outside of your own home, but it is possible.
You can bring cleansing wipes (like these amazing Bella B wipes) or our portable washbasin bag to clean your Chiller parts, pump parts, bottles and more at the airport or in the plane bathroom. Just fill it with warm water (or a water bottle if you don’t have access to running water), squirt in some soap from the soap dispenser, scrub and rinse! Then wipe your parts with the microfiber towel and pack it all up until the next use.
Check out this amazing washbasin tutorial video by the expert in traveling with her baby, Jess.
It’s as simple as that! You can also use sanitizing wipes or sprays for super easy and convenient on-the-go disinfecting.
Pumping on the plane
If you need to pump on the plane, you can decide to do so in your seat or in the bathroom. It’s all about what you’re comfortable with! Be sure to set up everything you need — your pump, pump parts, chiller, shields, cover or anything else that you usually use — before starting the pump. It’ll be much less of a hassle for you if everything is prepared ahead of time.
I know it seems a bit overwhelming at first glance, but you know what to do mama! Be prepared with all of your essentials and you’ll be traveling and pumping with ease before you know it!
For more amazing tips on pumping and flying, check out this super cool Pumping & Flying Travel Guide! Learn about the best places to pump, and explore your milk storage, cleaning and bottle warming options!
First-hand advice from Ceres Chill mom, Amber:
"Set reminders to pump and try to stick to schedule as much as possible. Important for mothers who produce more milk than the ceres chill will hold: bring a back back to carry with ziplock freezer bags. I filled the freezer bags with ice and placed my bottles and bags in it.
Once I got to the airport, I emptied out all the ice and kept the bags. I also emptied out the ice for my Ceres Chill. Once I got through TSA, I was able to go to the nearest coffee shop or restaurant and ask them to fill the ziplock bag and got extra for my Ceres Chill.
TSA: knows your rights and understand the process. I learned this from the Ceres Chill Instagram.
All airlines are different. Ask if they consider your pump and accessories as a medical device. Southwest had no issues with my additional bag.
I can now say, I’m not as nervous to travel, not only for business, but personally!"
TSA general policies