By Ceres Chill
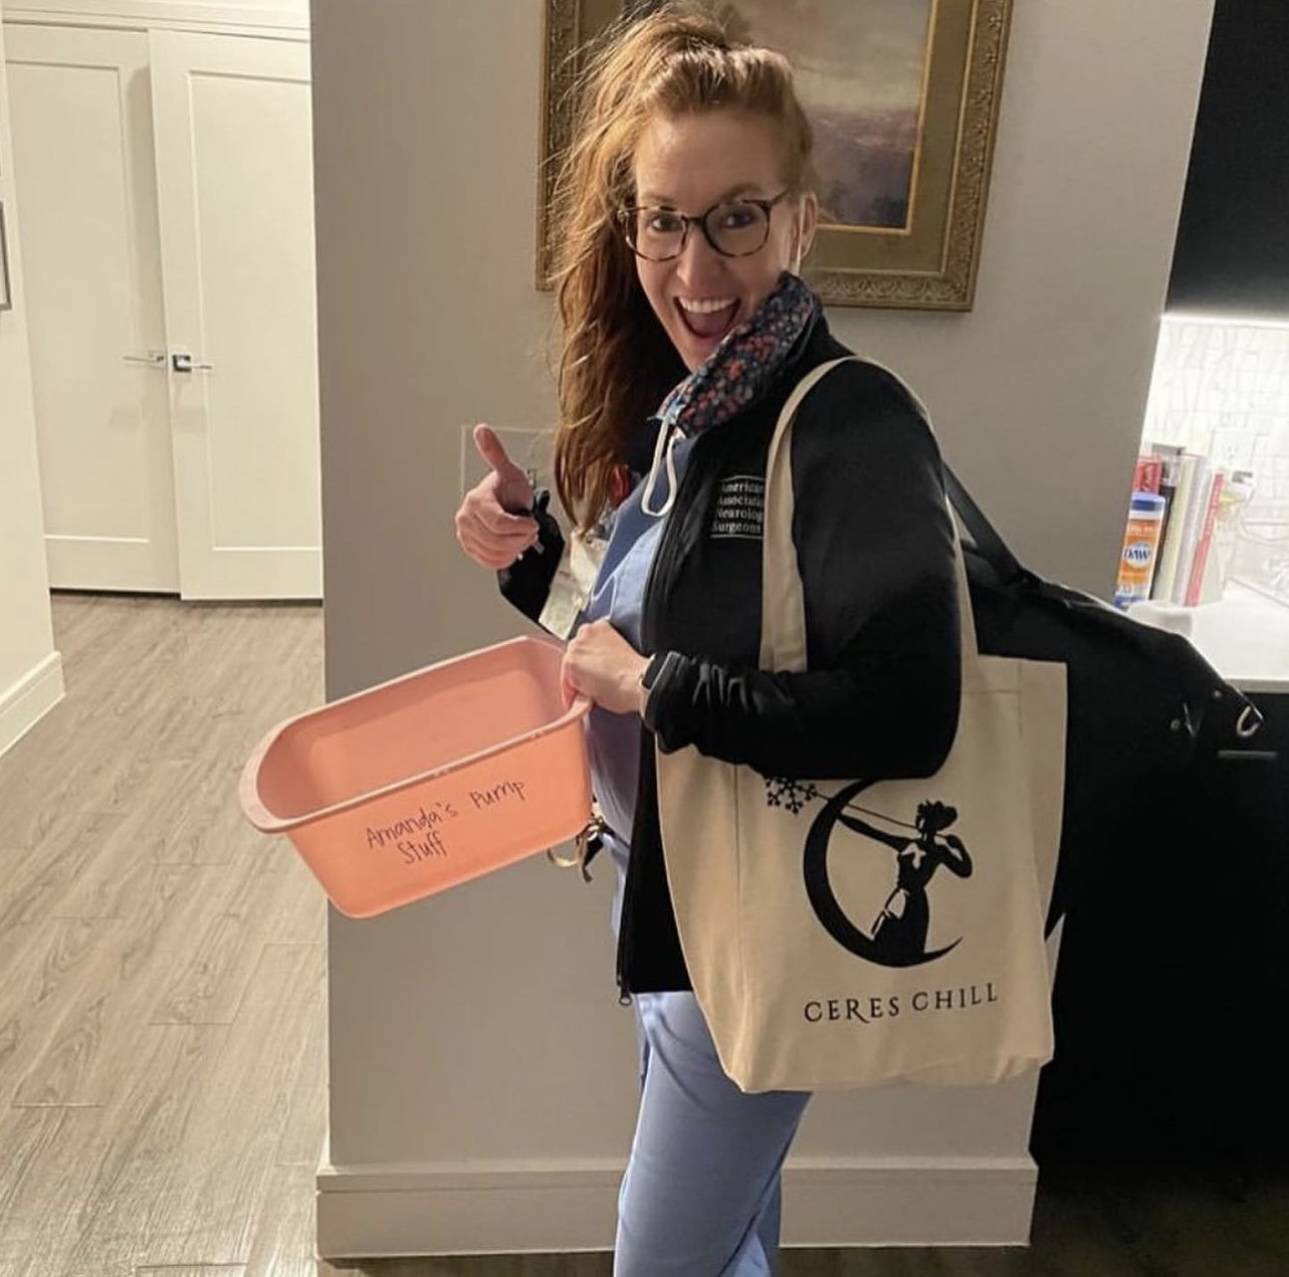
Amazing Ceres Chill mom, Amanda (@amandavilate on IG)
If you're planning to return to work or to your life outside the home, you know there's quite a few things you'll need to do to have an extra cushion of security for yourself, your partner, or your baby's caregivers. The plan might look different for everyone, but we're here to set you up with some basic advice to help you get your feet on the ground.
Let's get into it!
You'll need to get comfortable with pumping if you want to continue to provide milk for your baby. Practice using the pump you've chosen or try hand expressing to get a hang of the process. You don't want to be experimenting with pumping on your first day back to work when anxiety levels might already be high!
Try to do a "practice run" and pump as many times as your baby would normally feed when you're at home. This is the frequency that you'll want to try to maintain at work. It might be tricky to match the times and know how much you should be producing, but do your best! This will help you keep your supply up.
PS - watching yourself pump and freaking out about how little you think you’re producing never helps, so try to keep calm. As cheesy as it sounds, listening to music, looking at a photo of your baby or bringing an article of their clothing with you to smell DOES make a difference!
How will I clean pump parts at work or on-the-go?
Keeping our breastfeeding gear clean is important, but it can be super challenging and confusing when you’re away from home — we keep getting this same question: what exactly is “clean”?
When cleaning your parts, you want to make sure to keep them separate from other dishes or non-breastfeeding items in the sink to prevent everything from getting more dirty with food, grease or bacteria. You may also want to use a special soap for baby items that is fragrance/dye free and can break up grease. Using a scrub brush that fits into pump part nooks and crannies and that hasn’t been used to clean anything other than your baby bottles, nipple shields, flanges and tubing is a must. All of the rules and all of the extra stuff can be really overwhelming.
Check out the blogs below for more details!
Sterilizing, disinfecting, sanitizing, cleaning, and fridge hacks…Oh my!
Where will I pump? What are my rights as a pumping, working parent?
The Federal government of the United States of America recently acknowledged your right to breastfeed and created protections with The Providing Urgent Maternal Protections (PUMP) for Nursing Mothers Act. The bill, which is designed to correct mistakes and loopholes in the 2010 Break Time for Nursing Mothers Act, extended workplace protections to an additional 9 million nursing parents in April of 2023.
Employers are required to provide a 'reasonable' amount of break time and a clean, private space for lactating workers to express milk for up to one year following the birth of the employee’s child.
Check out the below blog posts for more details:
Weary, Breastfeeding, Working Moms: You’ve got this…and now the Federal Government has your back
What if I forget something?
It happens! Try to pack your bag the day before when you have time to sit down and check things off the list of necessary items to bring.
Keep spare parts with you if possible. Tubes, flanges, and bottles are nice to have in your bag or at work. A day will come when it will feel like a spare tube or hand pump just saved your life.
The thought of building a breastmilk stash before returning to work was daunting for me. I was just getting by with the milk that I was making for my baby, and it felt nearly impossible to have the security of extra milk in the freezer too.
While I wasn’t really successful in building up a stash, I’ve heard from other moms who were. Whether it was adding in an extra pump session a few weeks before returning to work or nursing their baby on one breast and pumping on the other, they were able to have a couple of days worth of milk in the freezer (you do *not* need a freezer full!) to give them some wiggle room while continuing to pump what their baby needs each day.
Every breastfeeding journey is different, but I know that having a freezer stash can help relieve some anxiety about keeping up with your baby’s needs. Here are a few tips that have helped other parents build up a stash, but remember - prioritize feeding your baby, not feeding the freezer! The goal is to have a fed, healthy baby AND stay sane as parents.
1. Overestimate how much your baby needs
A good tip is to overestimate how much your baby will need during a work day. Take general guidelines into consideration and use the stash you've created to cover the rest during your first few days back at work. After those first few days, you'll have a good idea of what your baby needs and can follow their lead.
*The average exclusively breastfed baby will take between 25 and 30 ounces in a 24-hour period depending on their age and the amount of solids they are taking. The amount your baby will need while you’re away will depend on their age and the number of hours you’re away.
2. Create a schedule and stick to it
It might be tricky to pump at the same time each day, but consistency will encourage your body to make more milk!
3. Pump daily after two or three feedings
When you do this, your baby can feed as much as they want - you'll just be taking what's left over! Many women find that they make the most milk during their morning feed, so try to collect milk after you feed your baby in the AM.
*Please do not spend the last few days/weeks before returning to work pumping like a madman, losing sleep or causing any supply issues. Pumping after the first two to three feedings a day is perfectly fine for this! Pumping after every feeding should only happen if it's medically necessary. Please talk with a lactation professional if you think you need to do this.
3. Don't overwork yourself
All you really need is three to five days worth of a stash before starting work - you'll continue to build it as time goes on, so a few days gives you just the amount of wiggle room you'll want.
4. Check for high lipase
Most moms don’t know that they have high lipase until they return to work or otherwise start to store their milk in the fridge/freezer after pumping, only to notice the change in taste or smell later on. When you’re getting comfortable with pumping milk and starting to build a stash or even store some for a bottle, it’s good to check!
Keep in mind that high lipase isn’t common or harmful in any way, but it never feels good to realize that you’ll have to take extra steps to make your milk stash “usable” since a lot of babies will refuse milk with excess lipase. Doing a small test to rule it out doesn’t hurt!
To test your milk for high lipase, put some freshly expressed milk in a bottle or bag and store it as you normally would in the fridge or freezer. Let it sit for 2-3 days, then do a taste and smell check. If it now smells soapy, fishy or metallic, you likely have high lipase.
Read our more in-depth blog here for details on how to manage High Lipase and what to do with the stash you might’ve already built.
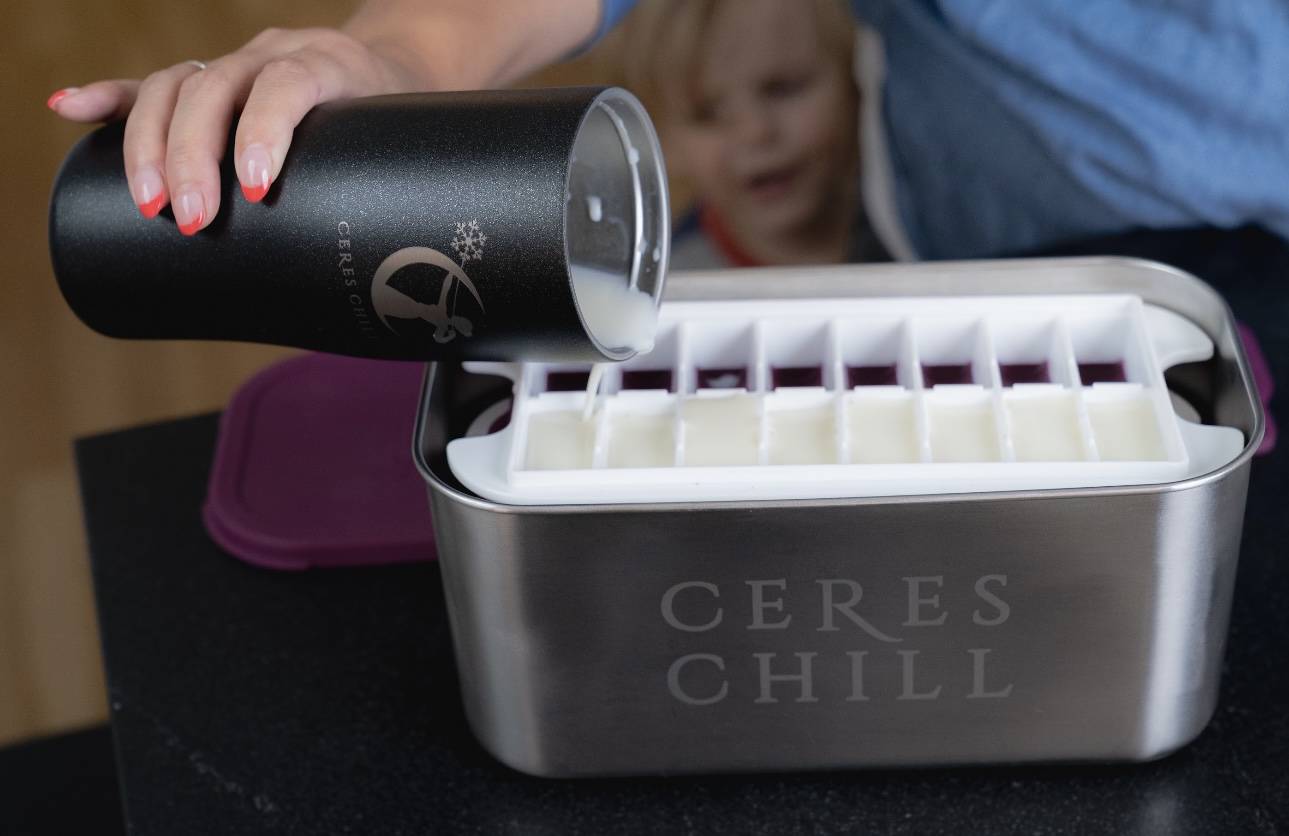
Photo by Mariel and Joey Lifestyle Photography
How to store your milk in the freezer
Breastmilk can stay in the fridge for a few days before needing to be transferred to the freezer. 72 hours is ideal, and 5-8 days is safe. However, when building a stash, you'll likely want to store it in the freezer right away so you can continue to add to it and keep track of it all.
As far as what container to use, you have a few options. Here's our opinion:
🚫Plastic freezer bags:
PROS: Affordable upfront (but expensive overtime)
CONS: Expensive overtime (you have to keep purchasing them). Disposable and wasteful. Single use bags that end up in landfills.
🚫Glass containers:
PROS: Good alternative to plastic. Good for freezing large amounts of milk at once.
CONS: Bulky, takes up a lot of space, longer defrosting time.
⭐Silicone Bags:
PROS: Easy to use, easy to clean. BPA-free. Great alternative to disposable bags
CONS: Can be expensive to buy a lot to store a large amount of milk. Not easy to clean.
⭐Silicone Storage Trays:
Shameless plug for the Milkstache here…
PROS: Freezes milk in perfect proportions for easy defrosting, takes up less space in the freezer than dozens of bags. Cubes can be transferred to silicone bags once fully frozen, and the cubed trays can continue to be filled when you’re ready to make more!
CONS: N/A (it’s just that good)
@juneandlily on Instagram
Practice paced bottle feeding
Lots of moms worry after the first few days away that they won’t keep up with the baby’s demands. Paced feeding can help with this! Be sure your caregivers know about it before leavingnthem with your baby and milk supply.
• Feed the baby when their cues indicate hunger, rather than on a schedule (hunger cues include licking lips, sticking tongue out, rooting (moving jaw and mouth or head in search of breast), putting his/her hand to mouth repeatedly, opening her mouth, fussiness, and/or sucking on everything around).
• Hold the bottle parallel to the ground instead of up and down and use a slow flow nipple.
• When feeding, hold the baby in an upright position. It’s also best to hold a baby at other times than when being fed, so as not to train the baby that they must to eat in order to be held.
• Switch from one side to the other side midway through a feeding to provide for eye stimulation and to overcome a side preference.
• Feed the baby for 10-20 minutes at a time. Try to make appropriate quantities last that length of time. This allows the baby to recognize when they are full.
• Begin feeding by gently allowing the infant to draw the nipple into his mouth rather than pushing the nipple into the infant’s mouth.
• Stroke baby’s lips from top to bottom with the nipple to elicit a rooting response of a wide open mouth, and then allow the baby to “accept” the nipple rather than poking it in.
• Consistent with a breastfed rhythm, the caregiver should encourage frequent pauses while the baby drinks from the bottle to mimic the breastfeeding mother’s let-down patterns. This discourages the baby from guzzling the bottle and can mitigate nipple confusion or preference.
• Only feed the baby until the baby is full; don’t encourage the baby to finish a bottle. If the baby is dozing off and releasing the bottle nipple before the bottle is empty, that means the baby has had enough; don’t reawaken the baby to finish it.
*Introducing the bottle when your baby is 4-6 weeks helps to encourage a smoother transition.
For tips and tricks on what bottles might work best for you, check out Courtney from @lactationchat on Instagram - she's an Infant Feeding Specialist and IBCLC who has the most helpful advice and content on bottle-feeding and choosing the right nipple for your baby! Here's PART 1 and PART 2 of her preferred bottle series for babies who are bottle-feeding while continuing to nurse.
The key here is to definitely have a PLAN! Being prepared can make the difference between a confident and quick transition back to work, or a super stressful one. The things listed above - practicing bottle-feeding, getting comfortable with pumping, etc - do take time, so it's good to start planning a few weeks in advance.
And remember - breastfeeding is not 'all or nothing'. If you decide to supplement with formula, that is okay. Here are some tips on how to make it work for you and your family.
Bonus tip: look after your pelvic health!
Pelvic health is SO important, and doing pelvic floor exercises during and after birth can really help with your postpartum recovery. Simple pelvic and deep abdominal exercises can be started a few days after birth, and assist in healing stitches and improving circulation and muscle function.
Tune into our our Ask the Expert IG highlight to view our Q&As with Pelvic Floor Therapists, and check out TheDownThereDoc's courses on pelvic floor health during birth and postpartum! Use the code CHILL15 for 15% off of any course 😎
Helpful links